Reception Desk Dimensions & Materials for Commercial Lobbies
Choosing a reception desk is a specification decision, not just a design choice. Size, counter height, circulation clearance, and materials all affect staff efficiency, visitor flow, and compliance requirements.
This guide outlines standard reception desk dimensions, ADA-friendly clearances, and durable material options for commercial lobbies. You’ll also learn when seated, standing, or dual-level counters work best—and how desk shapes influence workflow, privacy, and screen placement—so you can finalize specs with confidence.
Standard Reception Desk Dimensions for Commercial Use
Most commercial reception desks follow a few standard benchmarks: a 28–34 inch staff work surface, a 40–42 inch transaction counter, 60–72 inches of width for a single workstation, and 24–30 inches of depth.
In public and commercial spaces, an ADA-accessible section at 36 inches high is typically required. These dimensions serve as practical guardrails to balance staff comfort, guest interaction, and regulatory compliance.
Reception Desk Height, Width, and Depth Guidelines
Reception desk dimensions should be defined by daily tasks and available space. For seated work involving long computer use, a 28–30 inch work surface is standard. For quick check-ins or sign-offs, a 42 inch standing counter improves efficiency.
A single-staff workstation typically requires 60–72 inches of width, with an additional 30–36 inches for each extra position. Desk depth should remain within 24–30 inches for comfortable screen reach, extending to 30–36 inches only when larger equipment or guest-side signing space is required.
Marking these dimensions on the floor helps confirm clearances for doors, chairs, and visitor circulation before finalizing specifications.
ADA-Compliant Lowered Section and Knee Clearance
Commercial reception desks should include an ADA-accessible section. ADA guidelines typically require a maximum counter height of 36 inches, with a minimum length of 36 inches for a parallel approach or 30 inches with knee and toe clearance for a forward approach.
Provide knee clearance of at least 27 inches high, 30 inches wide, and 17–19 inches deep, along with a clear floor space of 30 × 48 inches. Keeping the accessible section the same depth as the main counter allows guests to sign or interact comfortably without awkward reach.
Reception Desk Size Benchmarks (US)
| Element | Typical Range | ADA Minimum | Best For | Notes |
| Seated work surface | 28–30″ high | — | Long computer tasks | Ergonomic chair + foot clearances |
| Standing counter | 40–42″ high | — | Quick transactions | Add a modesty panel |
| Accessible section | — | 36″ high; 36″ long (parallel) or 30″ long + knee/toe clear (forward) | Public/commercial check-in | Same depth as the main counter |
| Width (per staff) | 60–72″ | — | 1 staff station | Add 30–36″ per extra station |
| Depth | 24–30″ | — | Most setups | 30–36″ for large devices |
Which Clearances Keep Flow And ADA On Track?
Protect movement. Aim for visitor flow clearance 36 inches around the desk and keep at least one 5‑foot turning radius (60″ diameter) where wheelchairs pivot. Provide a 30″x48″ approach space at the counter—parallel or forward—without obstructions.
Traffic Lanes, Turning Space, And Queues
Meanwhile, map lanes from the entrance to the desk to seating and exits. Keep 36″ minimum and avoid pinch points. For busy lobbies, carve a short queue zone that doesn’t block doors. Mark a 60″ circle where turning is likely—at a vestibule or just before the desk front.
Counter Approach And Reach Ranges
Also, guarantee access at the transaction edge. For a parallel approach, provide a 36″‑long surface at 36″ high; for a forward approach, include knee and toe space and keep objects within seated reach ranges. Place the accessible segment near the payment device or check‑in tablet.
How Do Shapes Change Layout And Workflow?
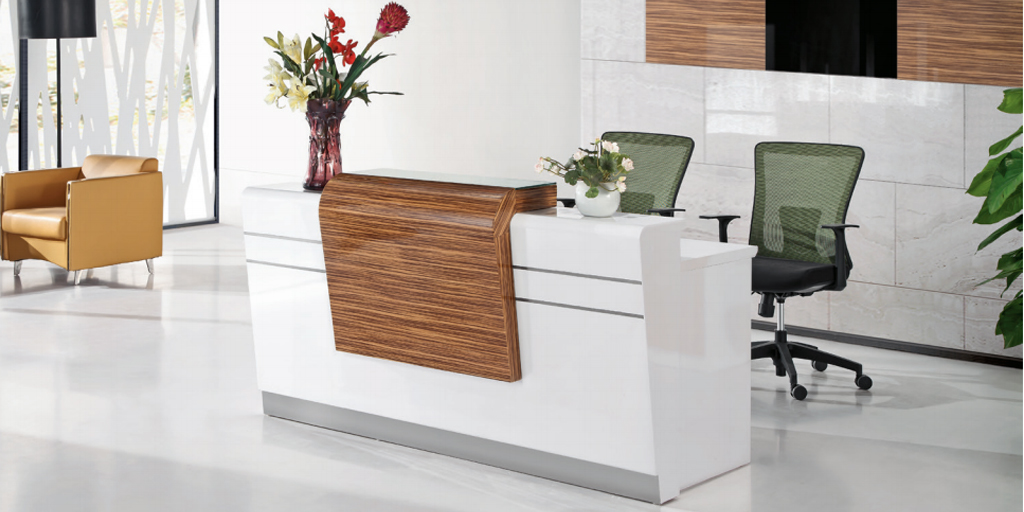
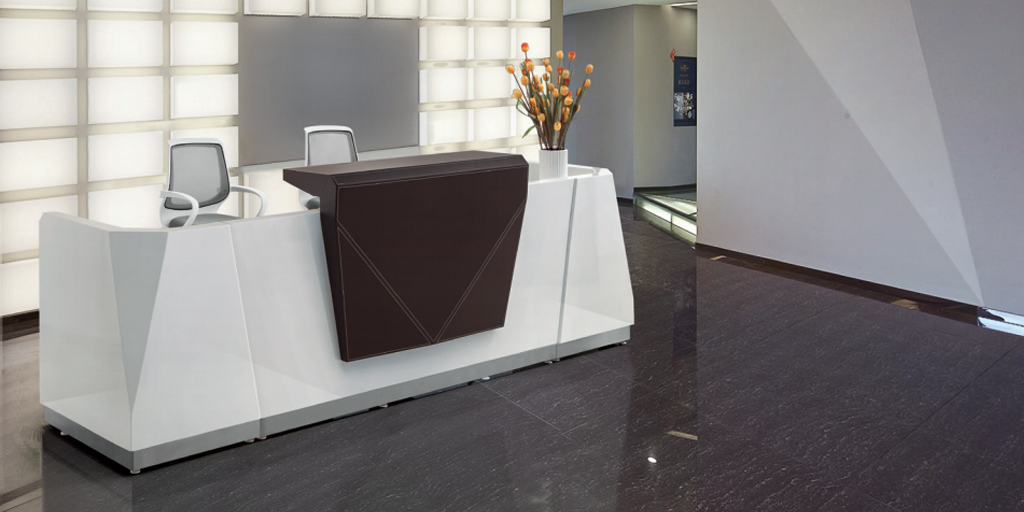
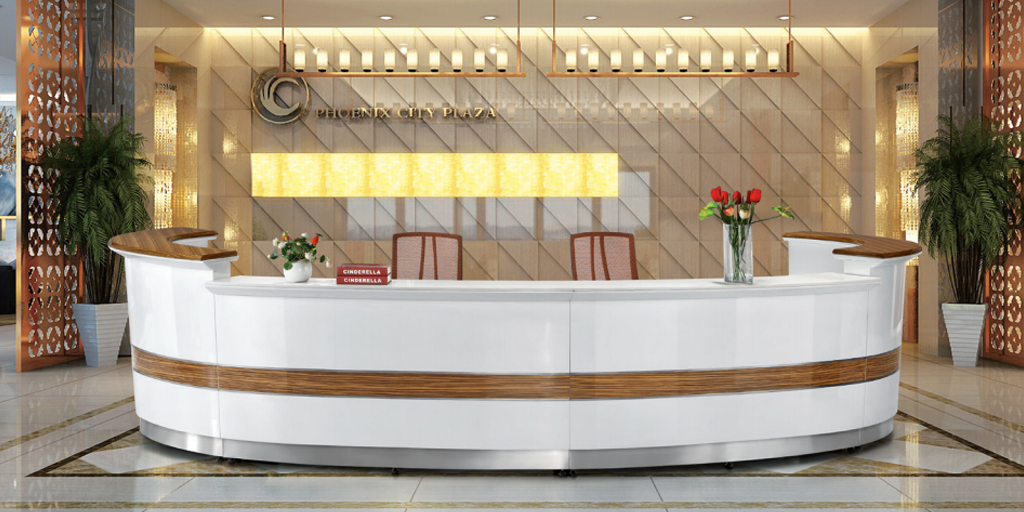
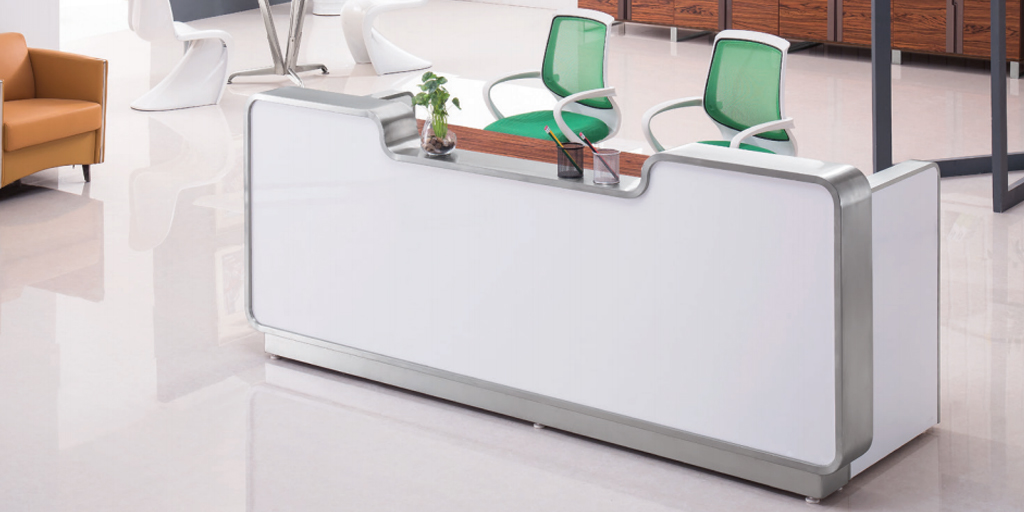
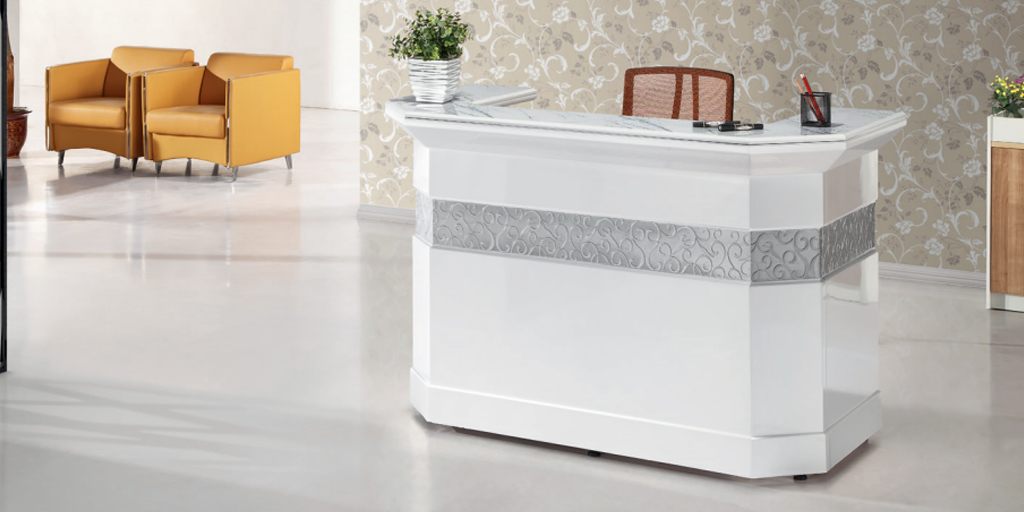
Then, match the shape to work. Straight fits small rooms, an L‑shaped reception desk splits digital and paper zones, a U‑shaped reception desk wraps heavy paperwork and guest signing, and a curved reception desk softens approach angles and improves sightlines.
Straight, L‑Shaped, And U‑Shaped Basics
Crucially, treat shape as a workflow tool. A straight desk suits tight rooms and short interactions. An L gives a “main” run for screens and a side run for forms or parcels; it’s the best upgrade when space is modest. A U adds surface for binders, packages, or two monitors plus a signing edge, but it needs more width for chair roll‑back and guest seating.
Curved And Corner Designs
In contrast, curved faces improve wayfinding and present a friendlier edge in large lobbies. Corner layouts reclaim dead space and can shorten reaches. Use a gentle radius so guests don’t stack in a tight arc. Keep the inner “operator triangle” clean to boost speed and comfort.
What Materials Balance Durability And Style?
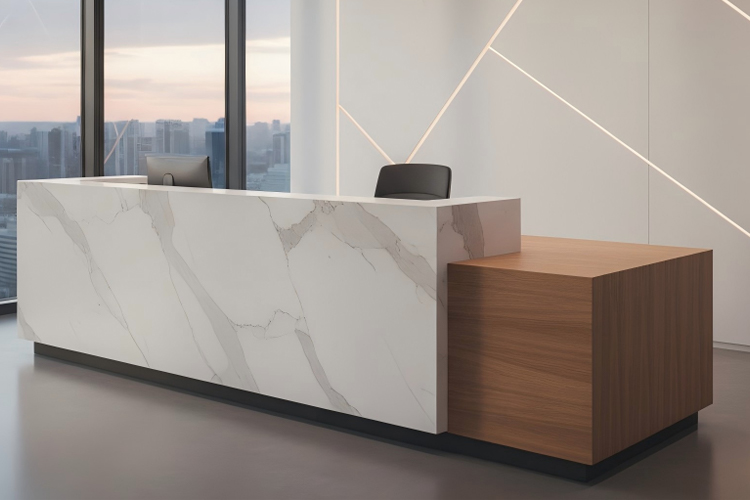
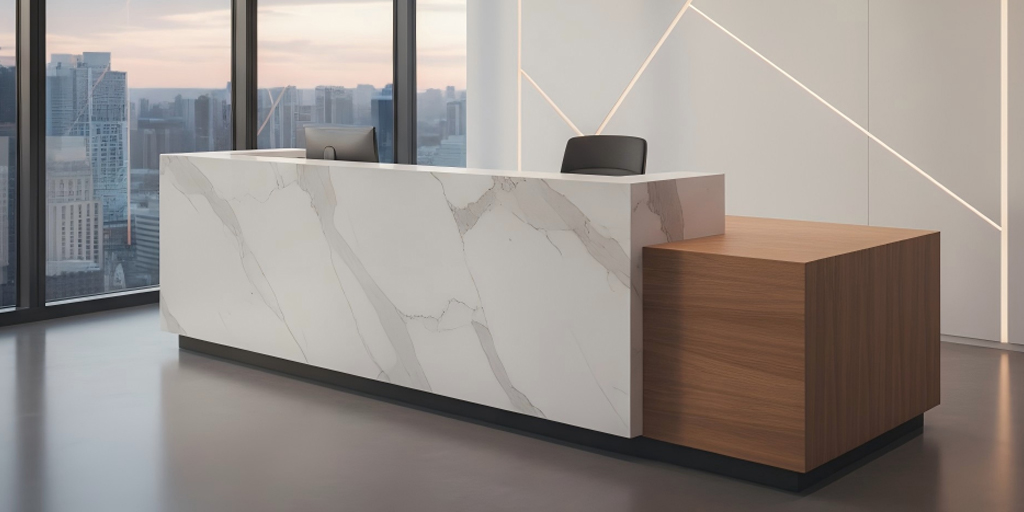
After that, pick surfaces that work hard. Laminate/HPL is budget‑tough and easy to clean; solid surface quartz is seamless and repairable; wood or wood veneer warms the room; metal and tempered glass counter details modernize.
Laminate, HPL, And Wood/Veneer
Notably, HPL resists scratches and cleans fast, ideal for high‑traffic counters. It can mimic wood or stone at a lower cost. Solid wood brings prestige and repairability, yet it needs more care near moisture. Veneer delivers real‑wood looks over stable cores, balancing cost and weight.
Solid Surface, Quartz, Metal, And Glass
Moreover, solid surface can be joined invisibly, shaped, and re‑sanded. Quartz resists stains and chips and supports bold edges. Metal accents guard kicks and corners. Glass adds airiness but shows fingerprints; specify tempered and plan routine cleaning.
When Do Sitting, Standing, Or Dual Levels Win?
Furthermore, height follows task mix. Seated 28–30″ reduces fatigue for long screen work. Standing 40–42″ supports fast check‑ins and privacy. Dual‑level pairs a standing edge with a seated surface and the ADA segment, so everyone has a comfortable spot.
Task Length, Privacy, And Sightlines
Besides, long form‑filling or scheduling calls favors a seated posture. If privacy matters, a 40–42″ standing edge blocks views of screens and paperwork. Check sightlines so staff can spot arrivals without craning.
Two‑Level Counters For Mixed Needs
Finally, dual‑level shines in busy lobbies. Keep the upper at ~42″, the lower at 28–30″, and integrate the accessible 36″‑high portion on the guest edge. Run the lower plane deep enough for keyboards without wrist crowding and route cables out of view.
How Many Staff And Screens Should You Size For?
Similarly, plan by headcount and tech. One station needs ~60–72″ width; add 30–36″ per additional seat. Two large monitors often need 28–30″ depth plus a clean cable path.
Single vs. Multi‑Station Widths
Also, confirm elbow room. If two staffers share a long front, give each a defined bay with a centered screen and an independent signing strip. For staggered schedules, shared bays can overlap if phones and scanners sit on movable trays.
Tech Footprint And Cable Paths
Conversely, screens, payment terminals, scanners, and a small label printer quickly eat space. Mount monitors on arms to reclaim depth and keep the signing zone open. Pre‑plan cable management with grommets, a tray, and a hidden power strip; label runs so swaps are painless.
What Storage, Cable, And Privacy Features Matter?
Additionally, clean fronts build trust. Use storage and lockable drawers, modesty shields, and a privacy panel on guest‑facing sides. Route cords out of sight so the desk reads calm and professional.
Lockable Storage And Paper Flow
As a rule, secure drawers protect documents and staff items, especially where cash or devices live. Keep daily forms at forearm reach and move archives to a credenza. A shallow “handoff shelf” lets guests sign without seeing the workstation.
Cable Management And Privacy Panels
However, the neatest desks plan wires first. Center a surge strip under the main surface and feed cables through grommets to a tray. Hide routers in ventilated cabinets. On the guest side, use a continuous privacy skin so knees, bins, and cables never show.

Do Industry Needs Change Front Desk Specs?
Beyond that, sector rules matter. A medical office reception desk emphasizes privacy, wipeable materials, and lower noise. A hospitality reception desk prizes presence, speed, and wayfinding. Corporate lobbies balance brand, ergonomics, and security.
Medical, Dental, And Clinics
Meanwhile, healthcare settings benefit from non‑porous tops, sealed edges, and easy‑to‑sanitize faces. Keep a lower, private writing station for forms and ensure the ADA segment aligns with check‑in devices. Add acoustic cues where voices carry.
Hospitality And Corporate Lobbies
In comparison, hotels and large offices want a visible beacon and fast orientation. A curved or segmented face helps guests know where to stand. Integrate brand accents, soft under‑lighting, and clear, high‑contrast signage. Keep the signing strip durable to handle rolling luggage.
What Steps Make Measure‑To‑Install Smooth?
Then, use a simple path: survey the room, tape the footprint, confirm power/data, and plan delivery. Keep an “Evidence Pack” with measurements, photos, and a sketch.
Room Survey And Tape Outline
First, measure wall‑to‑wall width and depth, note door swings, and mark floor boxes and outlets. Tape the desk outer edges and a second box behind the chair for roll‑back (aim 30–36″). Sit inside the tape to test reach. If a path narrows under 36″, trim depth or shift placement.
Delivery Path, Staging, And Evidence Pack
Walk the route from the truck to the lobby. Measure the narrowest door, corridor turns, and elevator depth; protect corners on move‑in day. Stage components in order of assembly. Your Evidence Pack (order details, room photos, measurements, and a short summary) keeps everyone aligned.
Where Do Lighting, Signage, And Branding Help?
Lastly, light and signs guide the eye. Front‑face lighting, legible sign type, and color accents make the desk easy to find without glare.
Lighting Levels And Glare Control
Still, balance ambient, task, and accent light. Avoid downlights that reflect in glass or glossy tops. Add soft front lighting on the logo zone and keep task lights shielded from guest view.
Signage, Logos, And Color Accents
Keep brand marks clear and restrained. Use high contrast for quick reads from 15–20 feet. Add a narrow color band on the guest edge or toe‑kick to echo your palette without clutter.
How Can ONMUSE Help You Finalize Specs?
Accordingly, a quick expert pass prevents rework. Share your room sketch, photos, staff count, and device list. You’ll get sizes, shapes, and materials tuned to your space and budget. Want shape tips? Try this short read: Desk shapes and room fit on the ONMUSE blog.
Fast Review Of Your Plan
Moreover, send widths/depths, door swings, and outlet locations, plus photos from each corner. Note preferred shapes and finishes, and any ADA considerations.
Shape, Finish, And Budget Options
Compare two options—one budget‑lean, one premium—and confirm clearances on the drawing. Then lock delivery details and staging so install day runs clean.
Reception Desk Dimensions & Materials: FAQs
1. What is the standard height for a standing reception counter?
In commercial lobbies, a standing reception counter is typically 40–42 inches high. This height supports quick guest interactions while maintaining visual privacy for screens and work surfaces.
2. How wide should a reception desk be for one staff member?
A single-station reception desk generally requires 60–72 inches of width. For multi-station setups, plan an additional 30–36 inches per staff member to ensure adequate workspace and guest signing area.
3. Is an ADA-compliant lowered section required for reception desks?
In public and commercial settings in the United States, an ADA-compliant lowered section is usually required. This section should have a maximum height of 36 inches, along with proper approach space and knee clearance to meet accessibility standards.
4. What reception desk materials are most durable for high-traffic use?
For heavy-use environments, HPL or laminate offers strong durability at a controlled cost. Solid surface and quartz materials provide higher durability, better impact resistance, and easier long-term maintenance for premium commercial projects.
5.Are curved reception desks suitable for small lobby spaces?
Curved reception desks can improve approach flow and wayfinding, but in compact lobbies, straight or L-shaped designs often preserve aisle width and circulation space more efficiently.
Conclusion: Final Reception Desk Specifications
A functional reception desk is defined by clear standards: 28–34 inch seated height, 40–42 inch standing counter, a 36 inch ADA-accessible section, 60–72 inches per station, and 24–30 inches of depth, with proper circulation clearance.
With accurate measurements and a defined material choice, you can finalize specifications confidently and ensure the desk performs well in daily commercial use.